No Discard Sourdough Starter
Make Sourdough Starter with the no-discard method. This method is simple, easy, and no waste.
Ingredients
- 2 1/4 c All-purpose flour You may need more depending on how the starter looks day to day.
- 2 1/4 c Filtered Water You may need more or less depending on how the starter looks day to day.
Instructions
- Day 1: Mix 1Tablespoon of the all-purpose flour and 1 Tablespoon of room temperature filtered water in a clean glass or plastic container with a narrow wooden spoon or the handle of a wooden spoon works well too. I used a pint jar to mix mine in. Loseley set the lid on top or cover it with plastic wrap or a coffee filter. Using a rubber band helps to keep it in place. Leave it set out on your countertop, or on top of your refrigerator where it gives off warmth. I have placed mine in the microwave with the door propped open so the light gives off extra warmth. Mine has always done better when it is kept in a warm place.
- Day 2: After it has been 24 hours add 1 tablespoon of all-purpose flour and 1 tablespoon of room-temperature filtered water to the starter mixture in your jar. Mix this well and scrape down the sides of your jar with a rubber scraper. Cover again loosely and set out for another 24 hours.
- Day 3: Add 1 tablespoon of all-purpose flour and 1 tablespoon of filtered room-temperature water and mix well. Scrape down the sides again with a rubber scraper and loosely cover to set for another 24 hours.
- Day 4: Again mix in 1 tablespoon of all-purpose flour and 1 tablespoon of filtered room-temperature water. Mix, scrape down the sides, loosely cover, and leave out for another 24 hours. Here is where mine started to get more runny and I added an additional 1/2 tablespoon of flour to thicken it up. If your starter starts forming lots of liquid on the top this is called hooch which simply means your starter is hungry and needs more flour.
- Day 5: Over the last four days we have slowly mixed 4 tablespoons of flour and water together resulting in roughly half a cup of starter. Now we will need to up the amount of flour and water we feed it to meet the demand of the bacteria in the starter needing to eat. Add-in 1/4th cup of flour and 1/4th cup of water.
- Day 6: I mixed 1/4 cup flour and 3 tablespoons water to make it a thick pancake batter-like consistency. I play it by ear and add water depending on how runny or thick the starter is.
- Day 7: I mixed in 1/4 cup flour and 1/4 cup water, and let set 24 hours loosely covered.
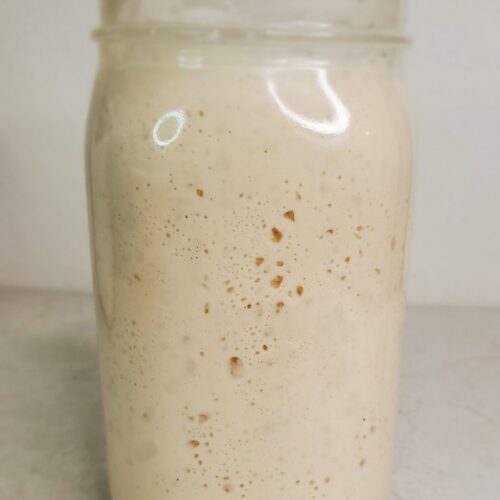
- Day 8: I mixed in 1/3 cup flour and 1/4 cup water. After 2 hours it had grown to almost double in size and was bubbly and ready to use. I was able to use a cup for my recipe and feed the remaining starter for later. Keep in mind it may take a few days more or less depending on all kinds of factors like the flour you use the temperature in your house etc.
- Maintaining your Starter- Once the starter is established, you can leave the starter out on the counter at room temperature and start a feeding schedule every 12- 24 hours. I feed my starter a 1:1 ratio (1 cup starter. 1 cup room-temperature water, 1 cup flour) This works best if you are going to be using it often. However, you will quickly acquire a lot of starter at this rate if you are not using it every day.If you would like to keep the no discard method going you can keep it in the refrigerator until you are ready to bake. Set it out a couple of days before you are ready to use it and again feed it equal parts flour and water. ( I keep a cup of starter in the refrigerator so I feed it 1 cup of water and 1 cup of starter.) You can use it after it has become active and bubbly. Then repeat the process of using what you need for baking, feed it, let it become active, and then stick it back in the refrigerator.I recommend feeding starter stored in the refrigerator once a week to maintain its health. Bring it out of the refrigerator and feed it 2 TB of flour and enough water (if it needs it)to make a thick pancake batter consistency. Let it reach room temperature so the yeast can start to feed on the flour and then back in the refrigerator it can go. Also, it may form what is known as hooch on the top ( a clear yellowish liquid) you can choose to pour that off or stir it back in when you are feeding it. I stir mine back in, it's really a personal preference.